Master Your First Head Shave: 5 Action-Steps to Shave Your Head Like a Pro
Hey there, fellow soon-to-be baldie! Ready to take the plunge? I’ve been there, and let me tell you, it’s a game-changer. Here are my 5 steps for your first head shave at home, complete with all the tips I wish I’d known when I started.
Why I Decided to Go Bald (And Why You Might Too)
Ready to join the club? Let’s dive in!
Step 1: Assemble Your Head-Shaving Kit 🛠️
Before your first head shave, here are my essentials:
Power Tip:
I learned the hard way – quality tools make ALL the difference between “Ouch!” and “Ahhh…” It elevates your DIY head shave a lot.
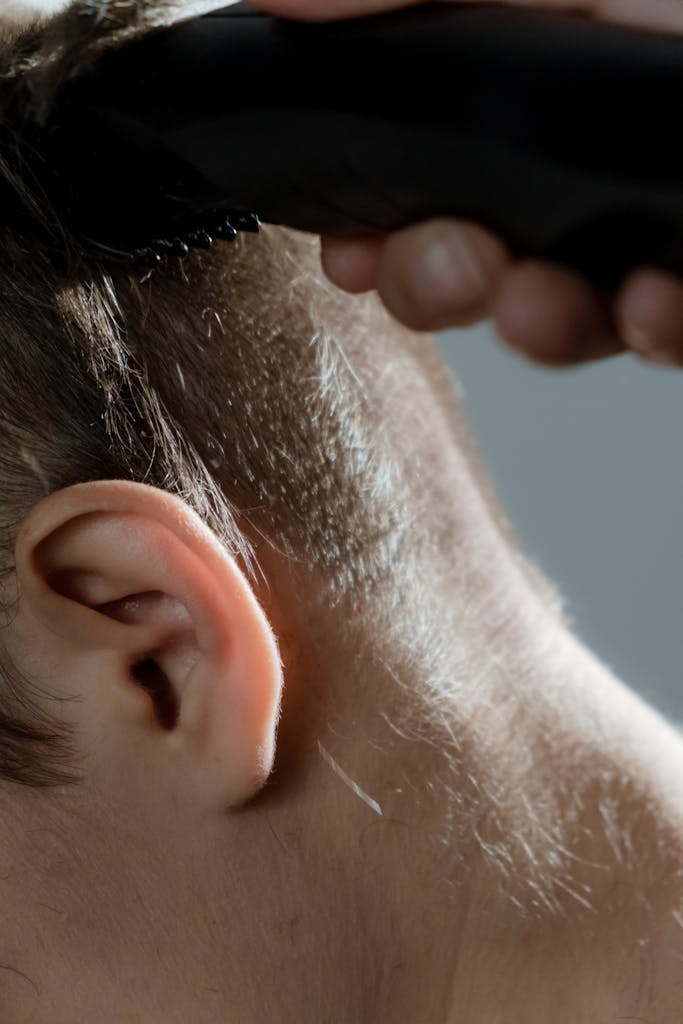
Step 2: Buzz It Down (The Point of No Return!) ✂️
Start your bald head tutorial with these steps:
- Start with the longest guard. I was nervous, so I began with a #8.
- Work your way down. I went 8 > 4 > 2. It helped me adjust mentally.
- Go against the grain. It feels weird at first, but you’ll get a closer cut.
- Those cowlicks are tricky! I have one at the crown that always needs extra attention.
- Rinse and repeat. I probably rinsed my head and clippers about 20 times. It’s messy the first time!

Remember:
It’s okay to freak out a little. I did! But push through – it gets better.
Step 3: Prep Your Canvas (This Is Key!) 🧼
Proper scalp preparation for shaving is crucial:
- Hot shower time! I stay under for about 5 minutes. It’s relaxing and softens the hair.
- Exfoliate gently. I use a soft washcloth in circular motions. Feels great!
- Pre-shave oil application. A little goes a long way. I use about a dime-sized amount.
- Lather up! I take my time here, making sure every inch is covered.
Remember:
Good preparation reduces irritation and ensures a smoother shave.
Step 4: The Main Event (Deep Breath, You’ve Got This!) 🪒
Now for the main event – how to shave your head:
- Start at the sides. I begin at my temples and work back. It’s easier to see.
- Short, gentle strokes are key. I rinse the razor after every 2-3 strokes.
- The top is next, then the tricky back. This is where that handheld mirror becomes your best friend.
- Feel around. Use your other hand to feel your skin and hair on your head. Become aware of your shaving process and identify which area you want to shave next through it.
- Don’t be shy about double-checking!
- For baby-smooth results, I re-lather and go against the grain. Carefully!
Take your time:
My first shave took almost 20 minutes. Now I’m down to 5!
Step 5: Finish Strong (The Pampering Phase) 🌟
- Cool rinse feels amazing. It’s refreshing and closes those pores.
- Pat dry gently with a fresh towel or cleansing paper! It is super important to get this done right. Rubbing will only irritate the scalp.
- Apply alcohol-free aftershave or moisturizing lotion. Also here, better quality leads to a better result.
- Check for and treat any nicks or cuts. If done right, you will have none.
- Daily care is crucial. I moisturize every morning and never skip sunscreen.
Power Tip:
Your scalp is sensitive at first. Treat it with love and respect!
You Did It! Welcome to the Bald Side 🎉
Congrats, you smooth-headed fellow! You’ve completed your journey from hair to bare, and doesn’t it feel fantastic? By following these 5 action-steps, you’ve not only achieved a smooth, professional-looking bald head, but you’ve also taken a bold step towards embracing a new you.
Be proud of yourself!

Here’s what I’ve learned on my journey:
Share Your Story:
How’d your first shave go? Any funny mishaps or unexpected wins? Let’s hear it in the comments! 👇


